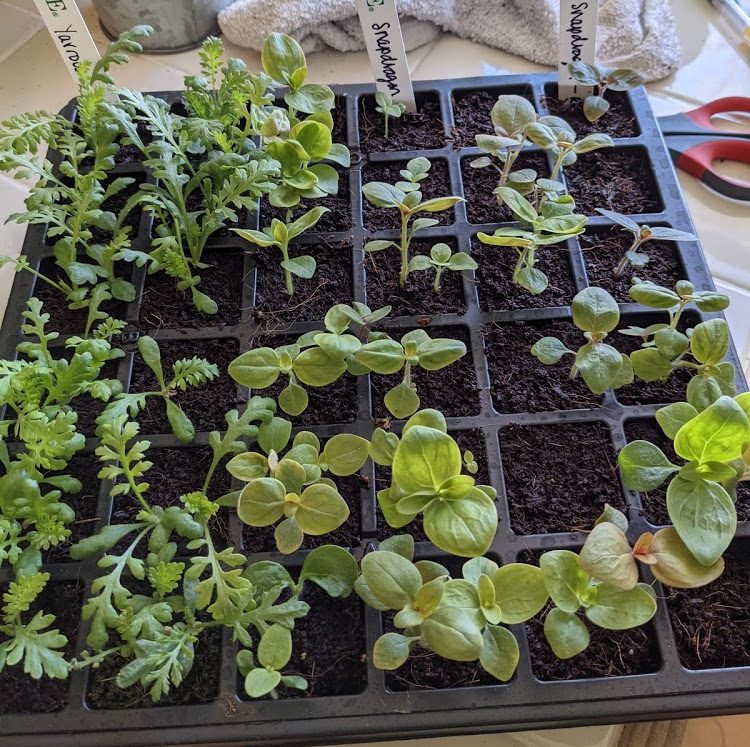
Starting seeds indoors is a great way to get into gardening and can be a really rewarding and satisfying hobby. You also can do it fairly inexpensively, right in your own home, and enjoy the benefits for months. This post shares some tips and tricks for getting started with starting seeds indoors.
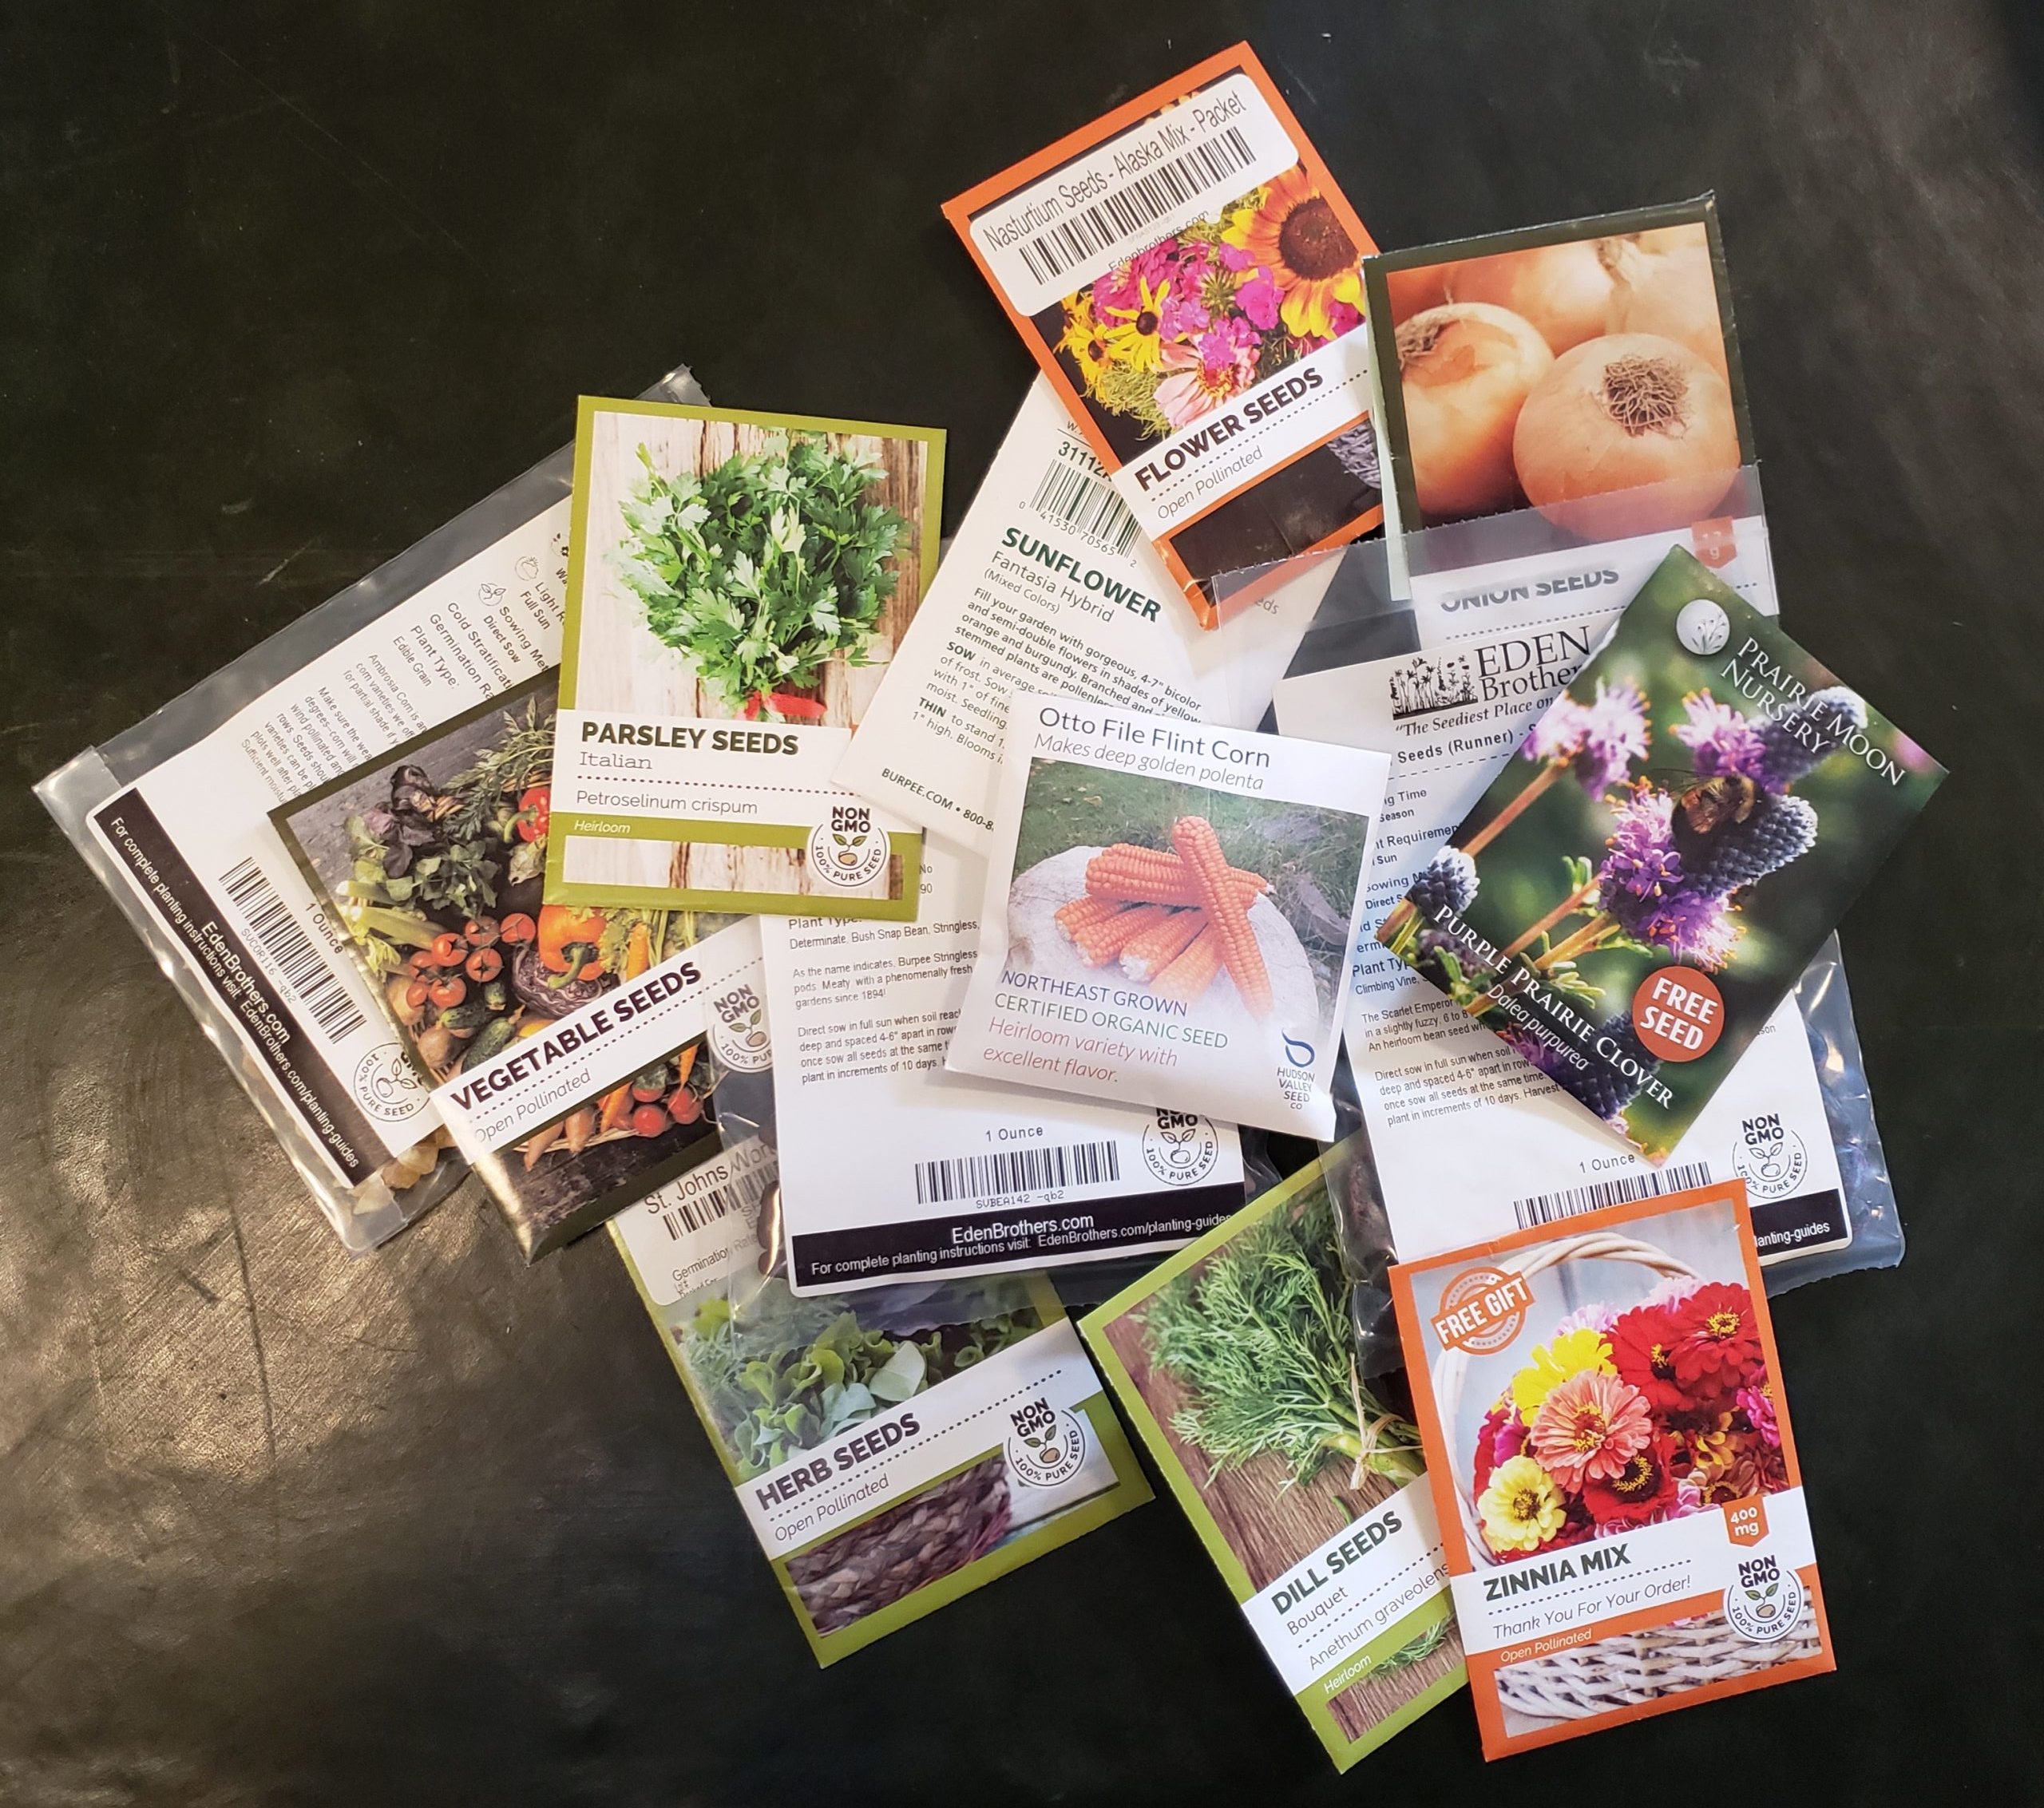
Our seeds for the OCHM garden!

Seed advertisement from April 3, 1909, in the Taunton Daily Gazette.
Why Start Seeds Indoors?
Growing from seed lets you get a jump start on your plants in the spring. Other than initial start-up costs, it is less expensive than buying starters from a nursery if you are going to be planting a lot. Also, it’s a lot of fun to browse through seed catalogs in the winter months and dream about what you’ll have growing in the summer! Lots of seed companies will mail catalogs you can browse and many offer a great selection online. We ordered the seeds for the OCHM Garden from Eden Brothers, Burpee, Prairie Moon Nursery, Pinetree Garden Seeds, Hudson Valley Seed Company, and American Meadows, but you should explore and shop around. Another great benefit of starting indoors is that the varieties available to you when growing from seed are much greater than when buying plants from a nursery. If you are a beginner, we recommend zinnia, nasturtium, and cosmos for great pollinator-friendly flowers, and tomatoes and basil as easy starters indoors.
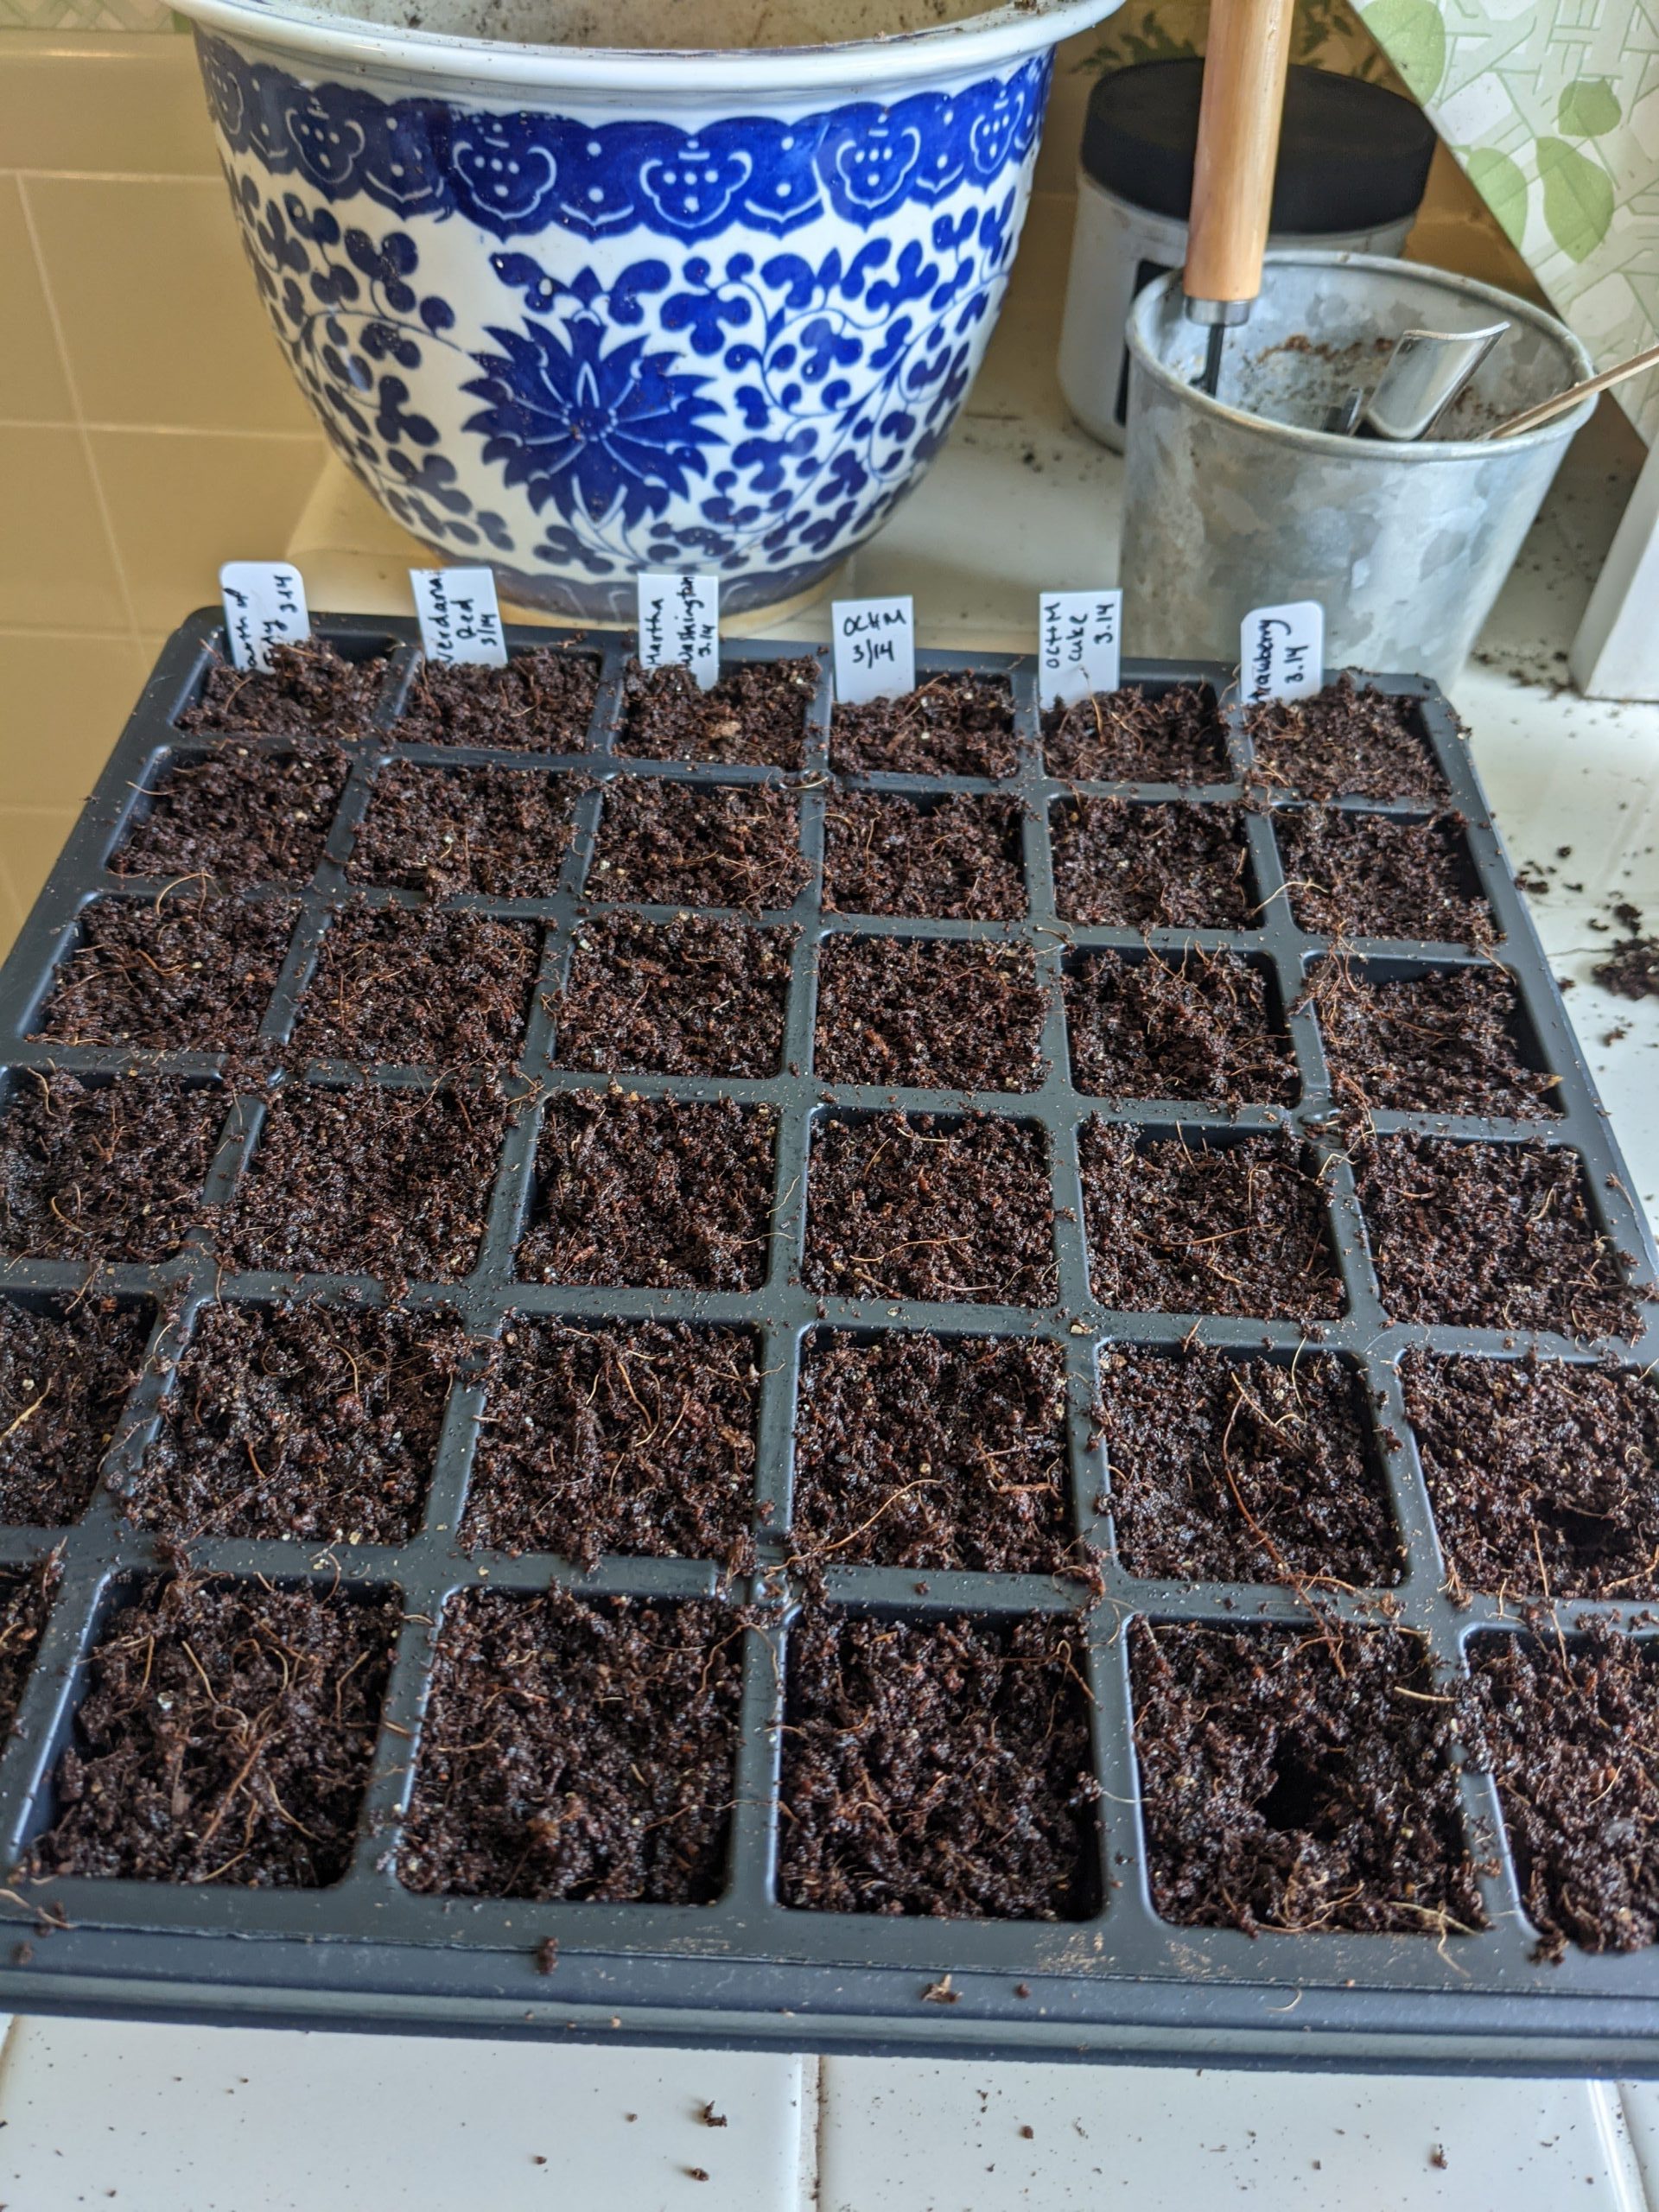
When To Start
Starting seeds in the spring is all about your last frost date. That may sound complicated, but luckily, others have figured this out for you. Sites like the Old Farmer’s Almanac, let you enter your zip code and it will tell you your last frost date. Then, if you look at the back of your seed packets, you’ll be given a range of when to start indoors. So just count back from that last frost date to know when to begin. One thing to note is that you want to resist the urge to start too early! If you are super enthusiastic and all your seeds germinate in your great home set-up, you’ll have tons of seedlings and not enough space to put them. Resist the urge to start early and stick to the dates on the seed packet. (We know, it’s hard).

What You’ll Need
Seeds
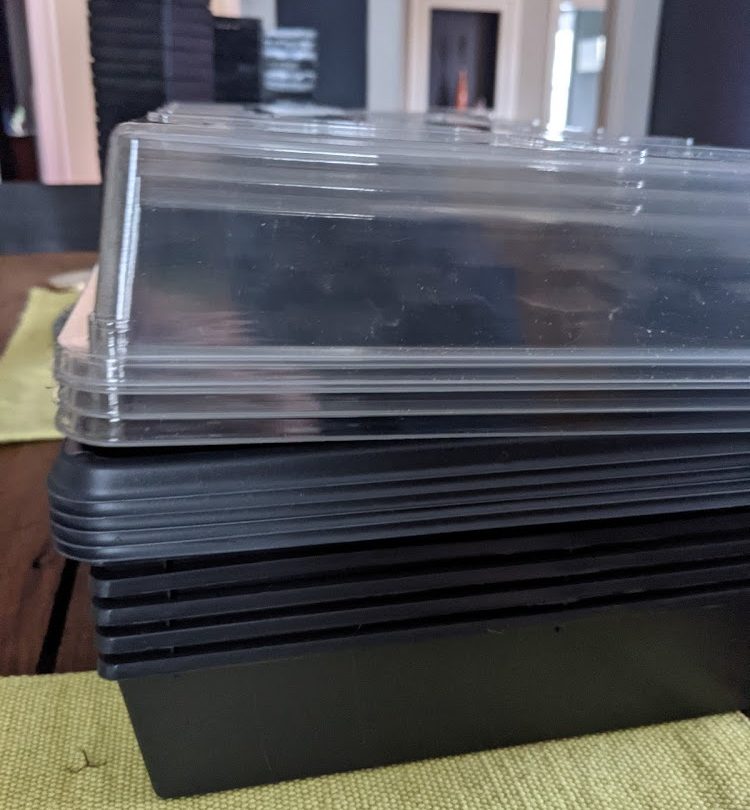
Clear acrylic lids
Bottom trays
Plant tags
Shelves
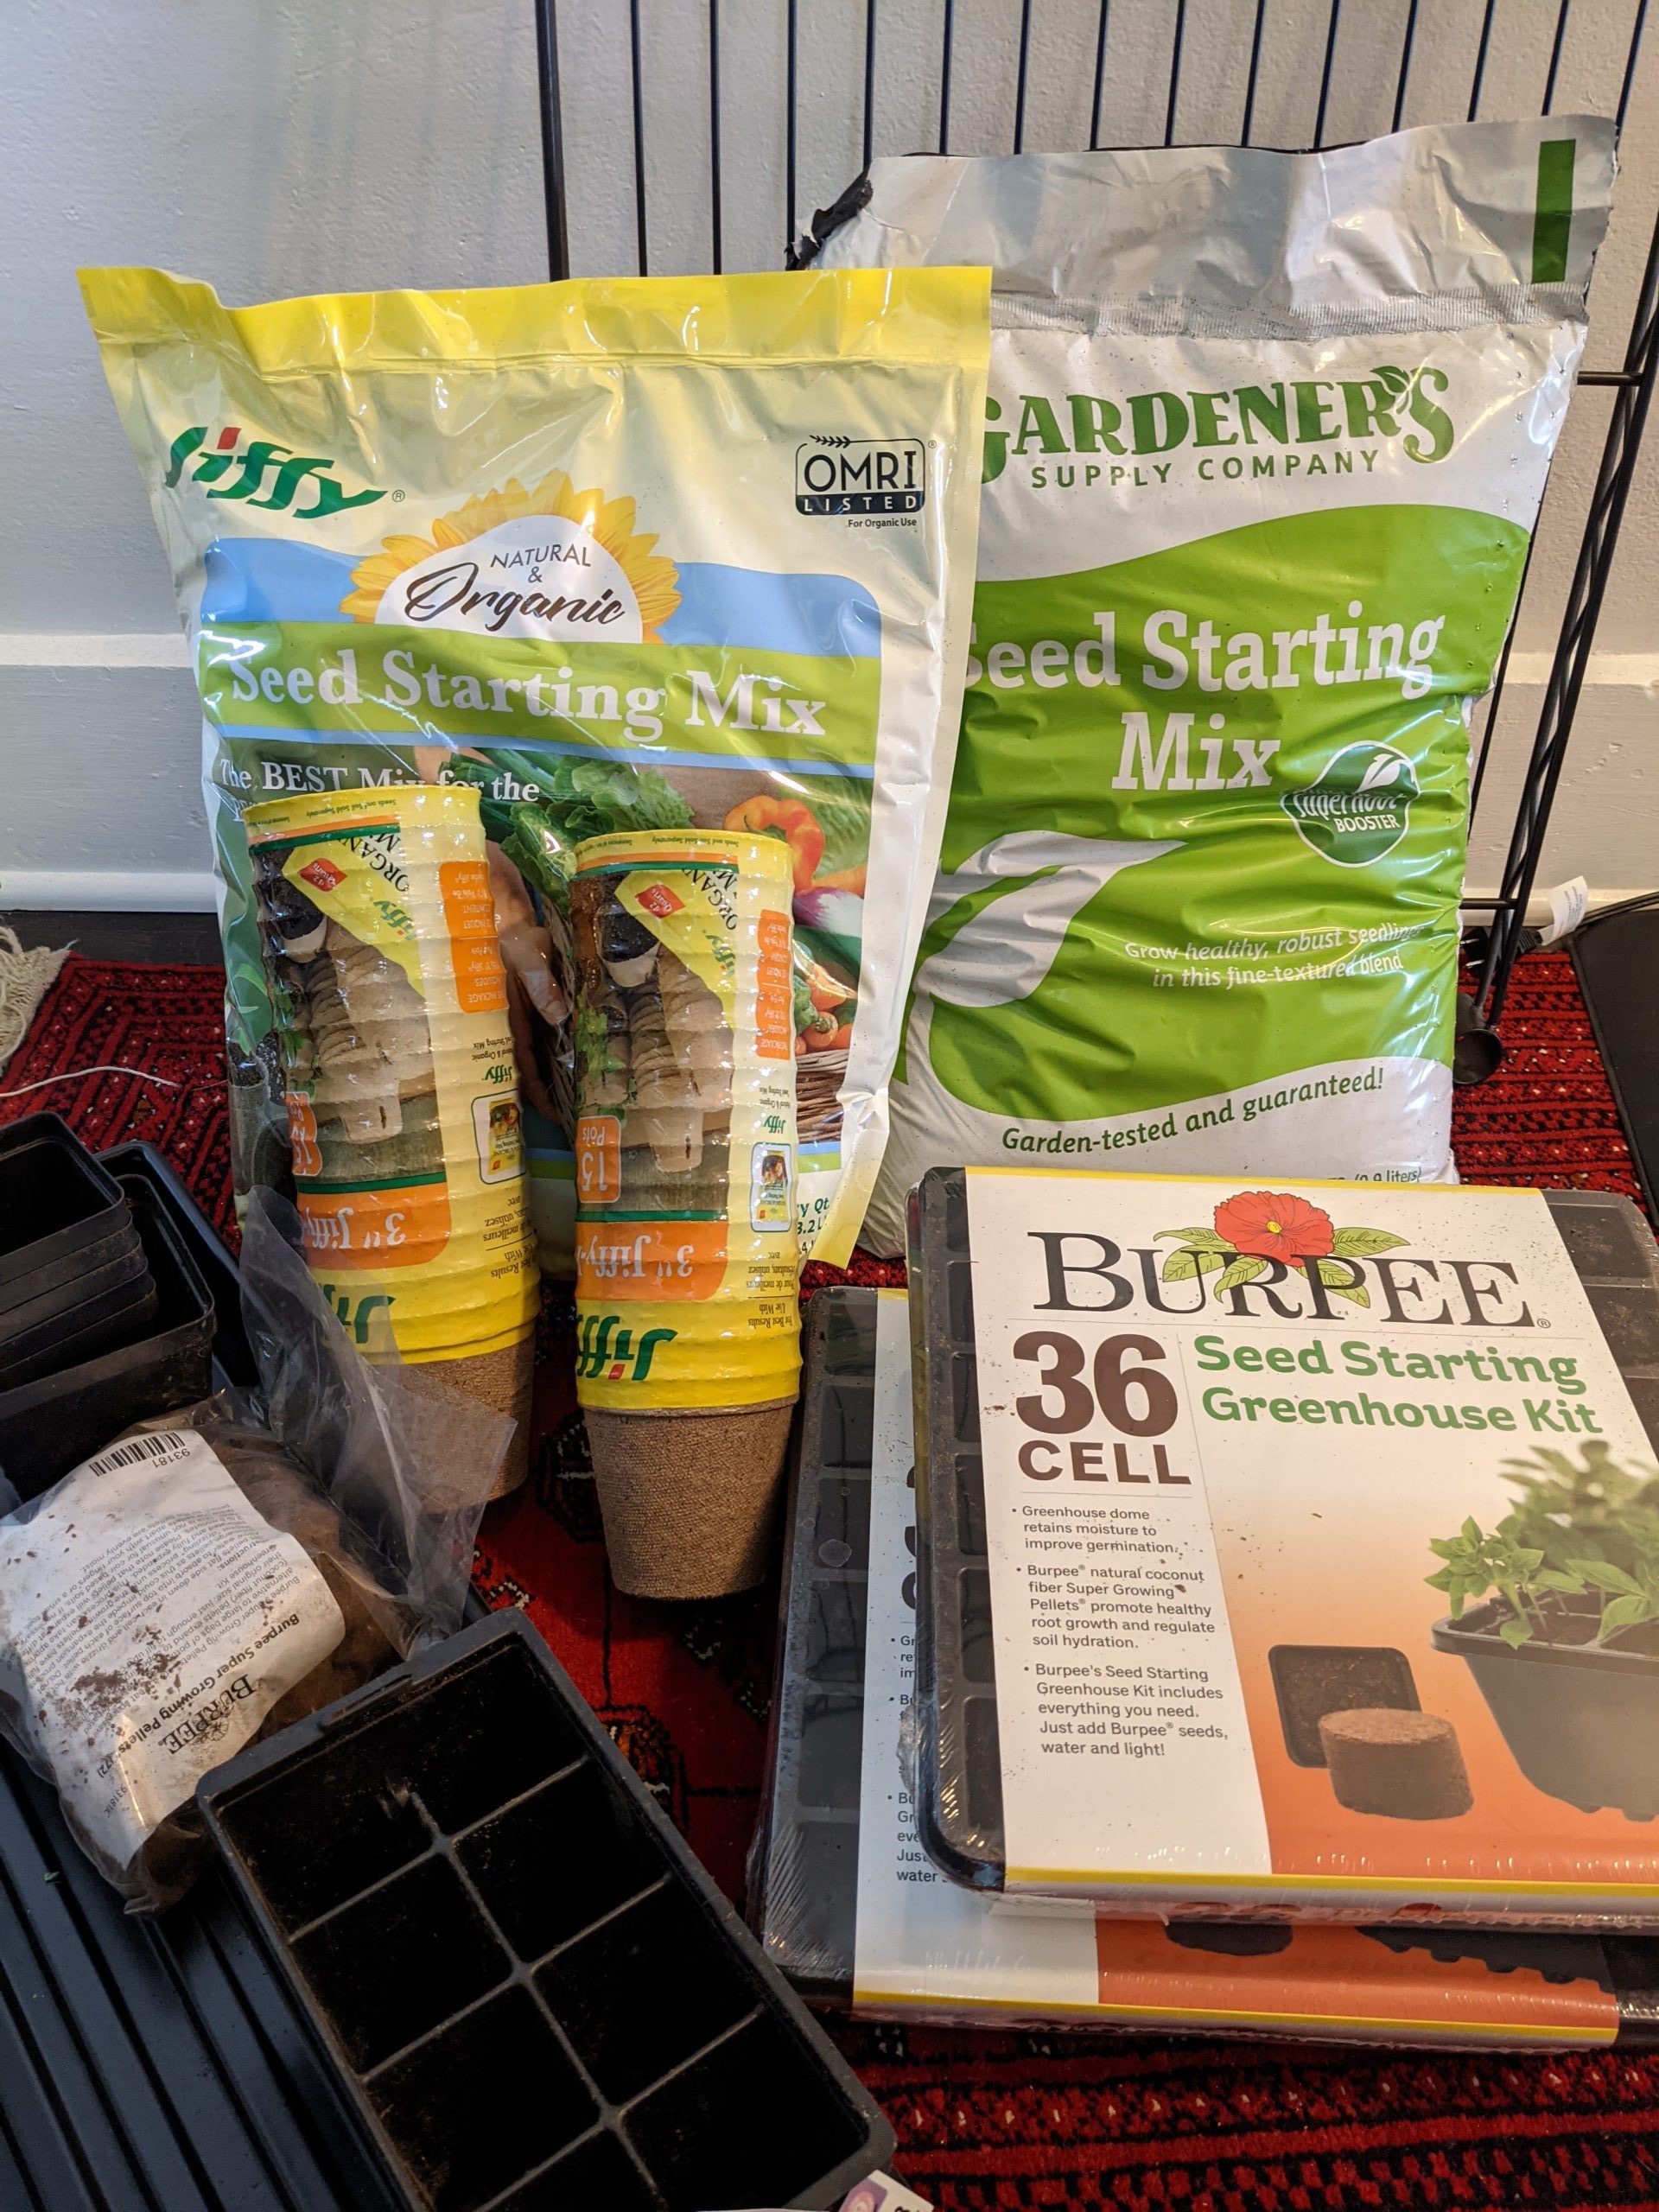
Please note, we are not affiliated with any of these products nor are we professional gardeners. We are just sharing the products and process that has worked for us.
What To Do
Step 1
Gather all your supplies. You’ll also want a good bit of space in which to work. And as a heads up, you are using dirt so it could get messy. If it’s warm enough you can do this outside, or consider a basement, garage, or bathtub for easy cleanup!
Step 2
Moisten your seed starting mix. You don’t want it dripping if you squeeze a handful, but the water in the mix is what is going to nourish the seed, so you do want it to be damp.
Step 3
Fill your seed trays with your moistened seed starting mix. Don’t jam it in, just keep spreading over the top and the soil will settle in to the cells to the tray. When you think it’s full, give it a firm tap against whatever surface you are working on. The soil will fill in any air gaps, and you’ll be able to fit in a bit more. Once you tap, and it doesn’t compress further, the cells are full.
If you don't have a seed tray, you can use egg cartons, newspaper pots, takeout containers, or toilet paper tubes as eco-friendly alternatives.
Step 4
Get your labels ready now! It’ll save you a hassle 10 minutes from this point when you are trying to remember which seeds you put where. Label the tray with the type of seed sown and the date. This will help you check in on them and know if they should be germinating yet in a few days.
Step 5
Now you are ready to sow your seeds. Use your finger, a pencil, a skewer from the kitchen, or whatever you’d like to poke a hole in each cell. In general, you want to plant seeds as deep as twice their size, so make your holes accordingly.
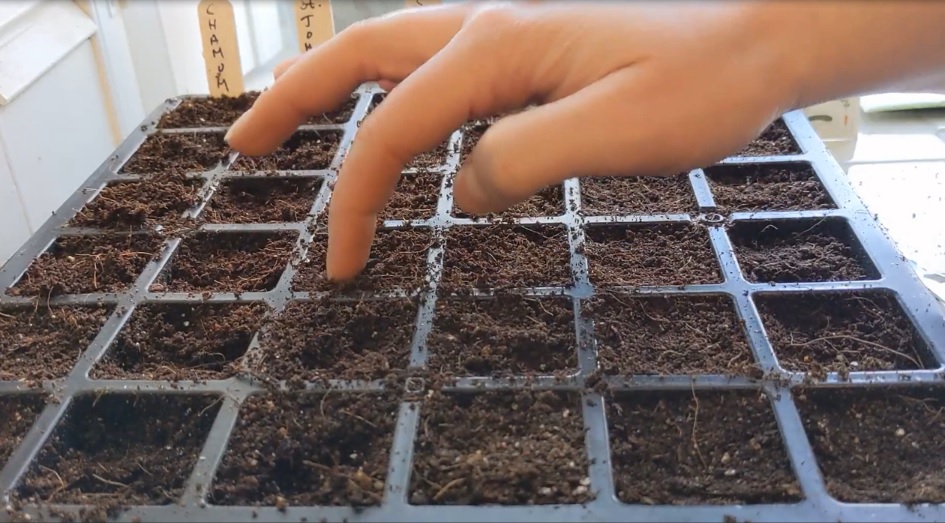
Step 6
Drop 1 or 2 seeds into each hole. For tiny seeds, like herbs, poppies, or snapdragons, this can be really tricky but take your time. It’s better to have only 1 or 2 plants in a cell, battling for nutrients, than over planting and having lots of weak seedlings.
Step 7
Cover the seeds with the soil. For the tiny ones, just barely cover the surface--a light dusting is fine.
Step 8
Set your freshly sown trays into a flat-bottomed tray that is filled halfway with water. If you don’t have “official” trays you can use any watertight tub you might have. The seeds just need to soak up water from below. Seed trays should be watered this way until the seedlings have their first true set of leaves. Otherwise, too much force from overhead watering can wash the seeds away.
Step 9
Cover your trays with a clear plastic dome. This keeps in humidity which will help with germination, and you don’t need to take it off for watering. If the plants seem dry, just add some more water to the plastic tray and let the water wick up to the seeds.
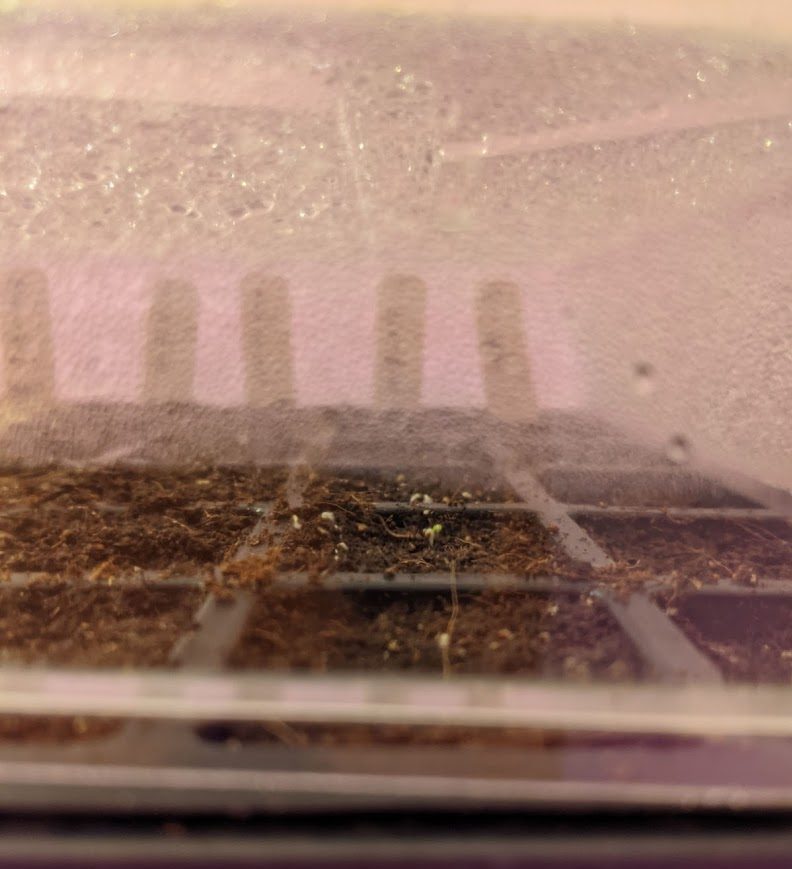
Step 10
If you invested in a heat mat, this is where you use it! Place your planted seed tray (sitting in a tray of water and with a plastic dome on top) right onto the mat. Most seeds need a bit of heat to germinate, so set the mat to 70°F. Some seeds may need slightly warmer or cooler, but the packet will tell you that. If you don’t have a mat, try the top of your fridge! Otherwise, the warmest corner of your house, away from heat vents or drafty windows. It definitely needs to be above 65°F.
Step 11
And now you wait. The seed packet will give you an idea of how long it will take for the seeds to germinate. Keep an eye on them daily, and once they sprout you can take off the plastic dome lid. Humidity is good for germination, but too much is bad for seedlings.
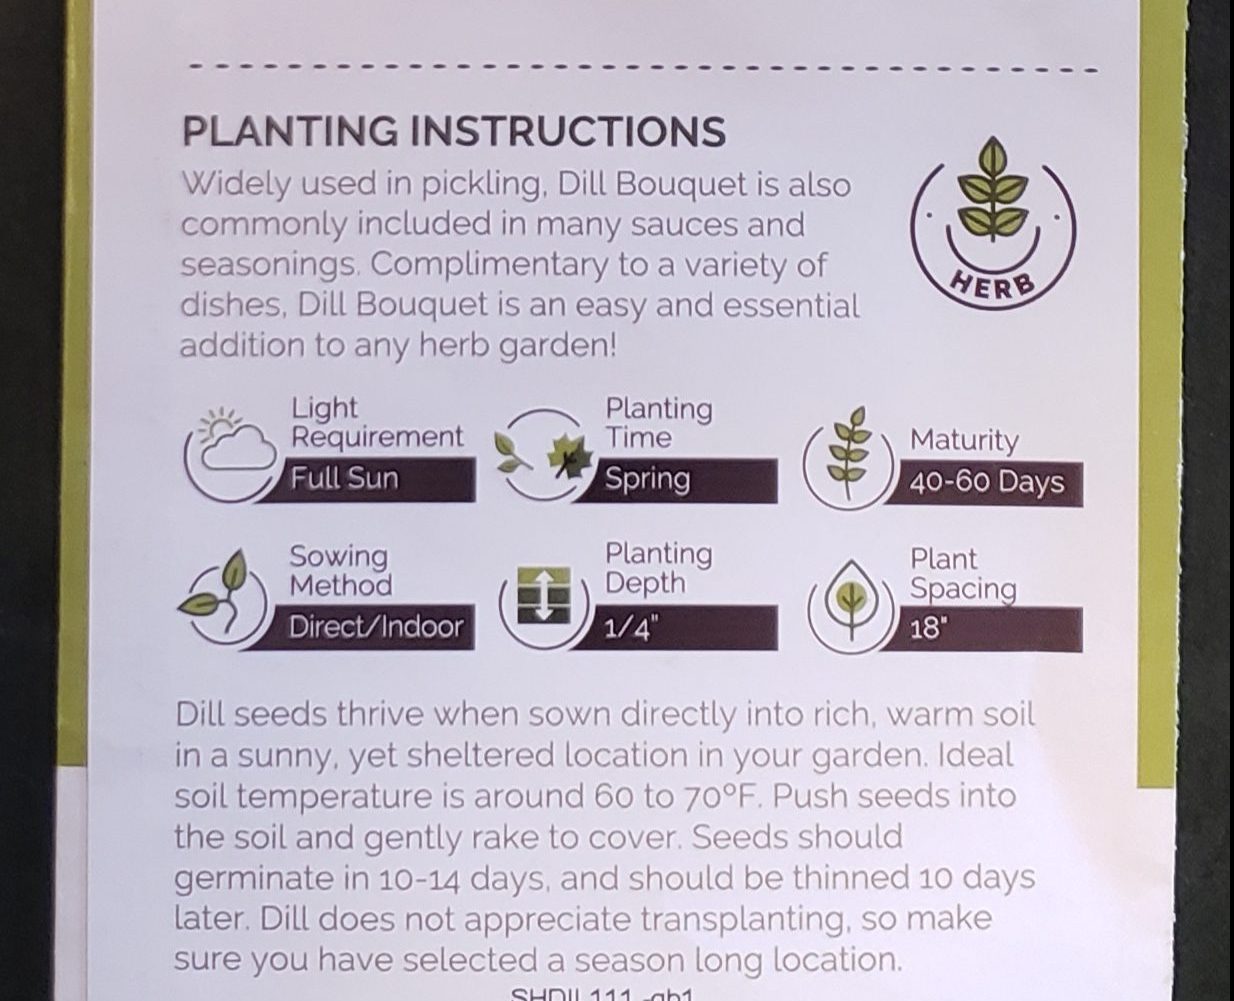
Step 12
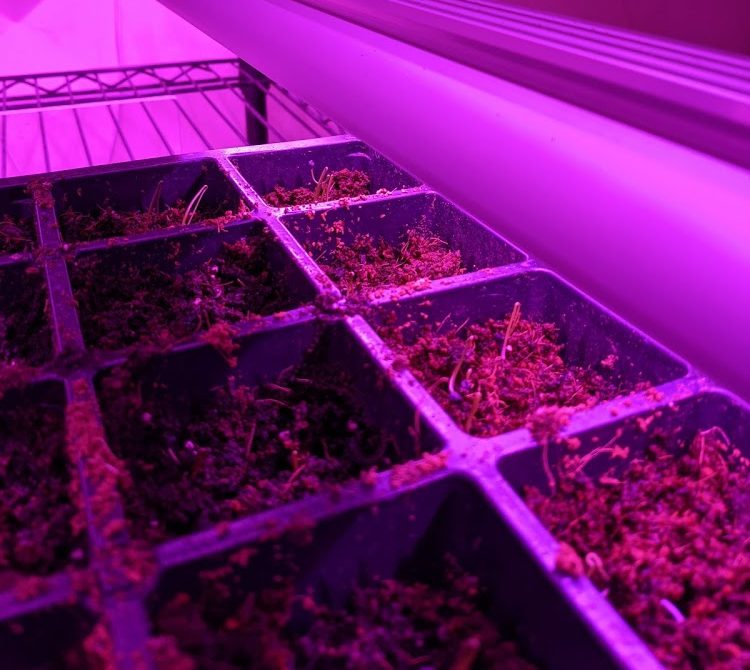
Once your seeds have sprouted, the trays can come off the heat, but your seedlings need light. So a sunny south-facing window is a good option. Or, if you’ve invested in the project, you can no move the tray under your grow lights. Set the lights with a timer so that they are on 14 to 16 hours a day. A timer will save you having to remember to turn them on and off every day so we highly recommend it. Seedlings need a lot of light, but they also need that break of darkness each day too. As the plants get taller, be sure to keep raising the lights so that they are hanging 2 to 3 inches above the tallest plant. Too close and you can burn the little baby leaves.
Step 13
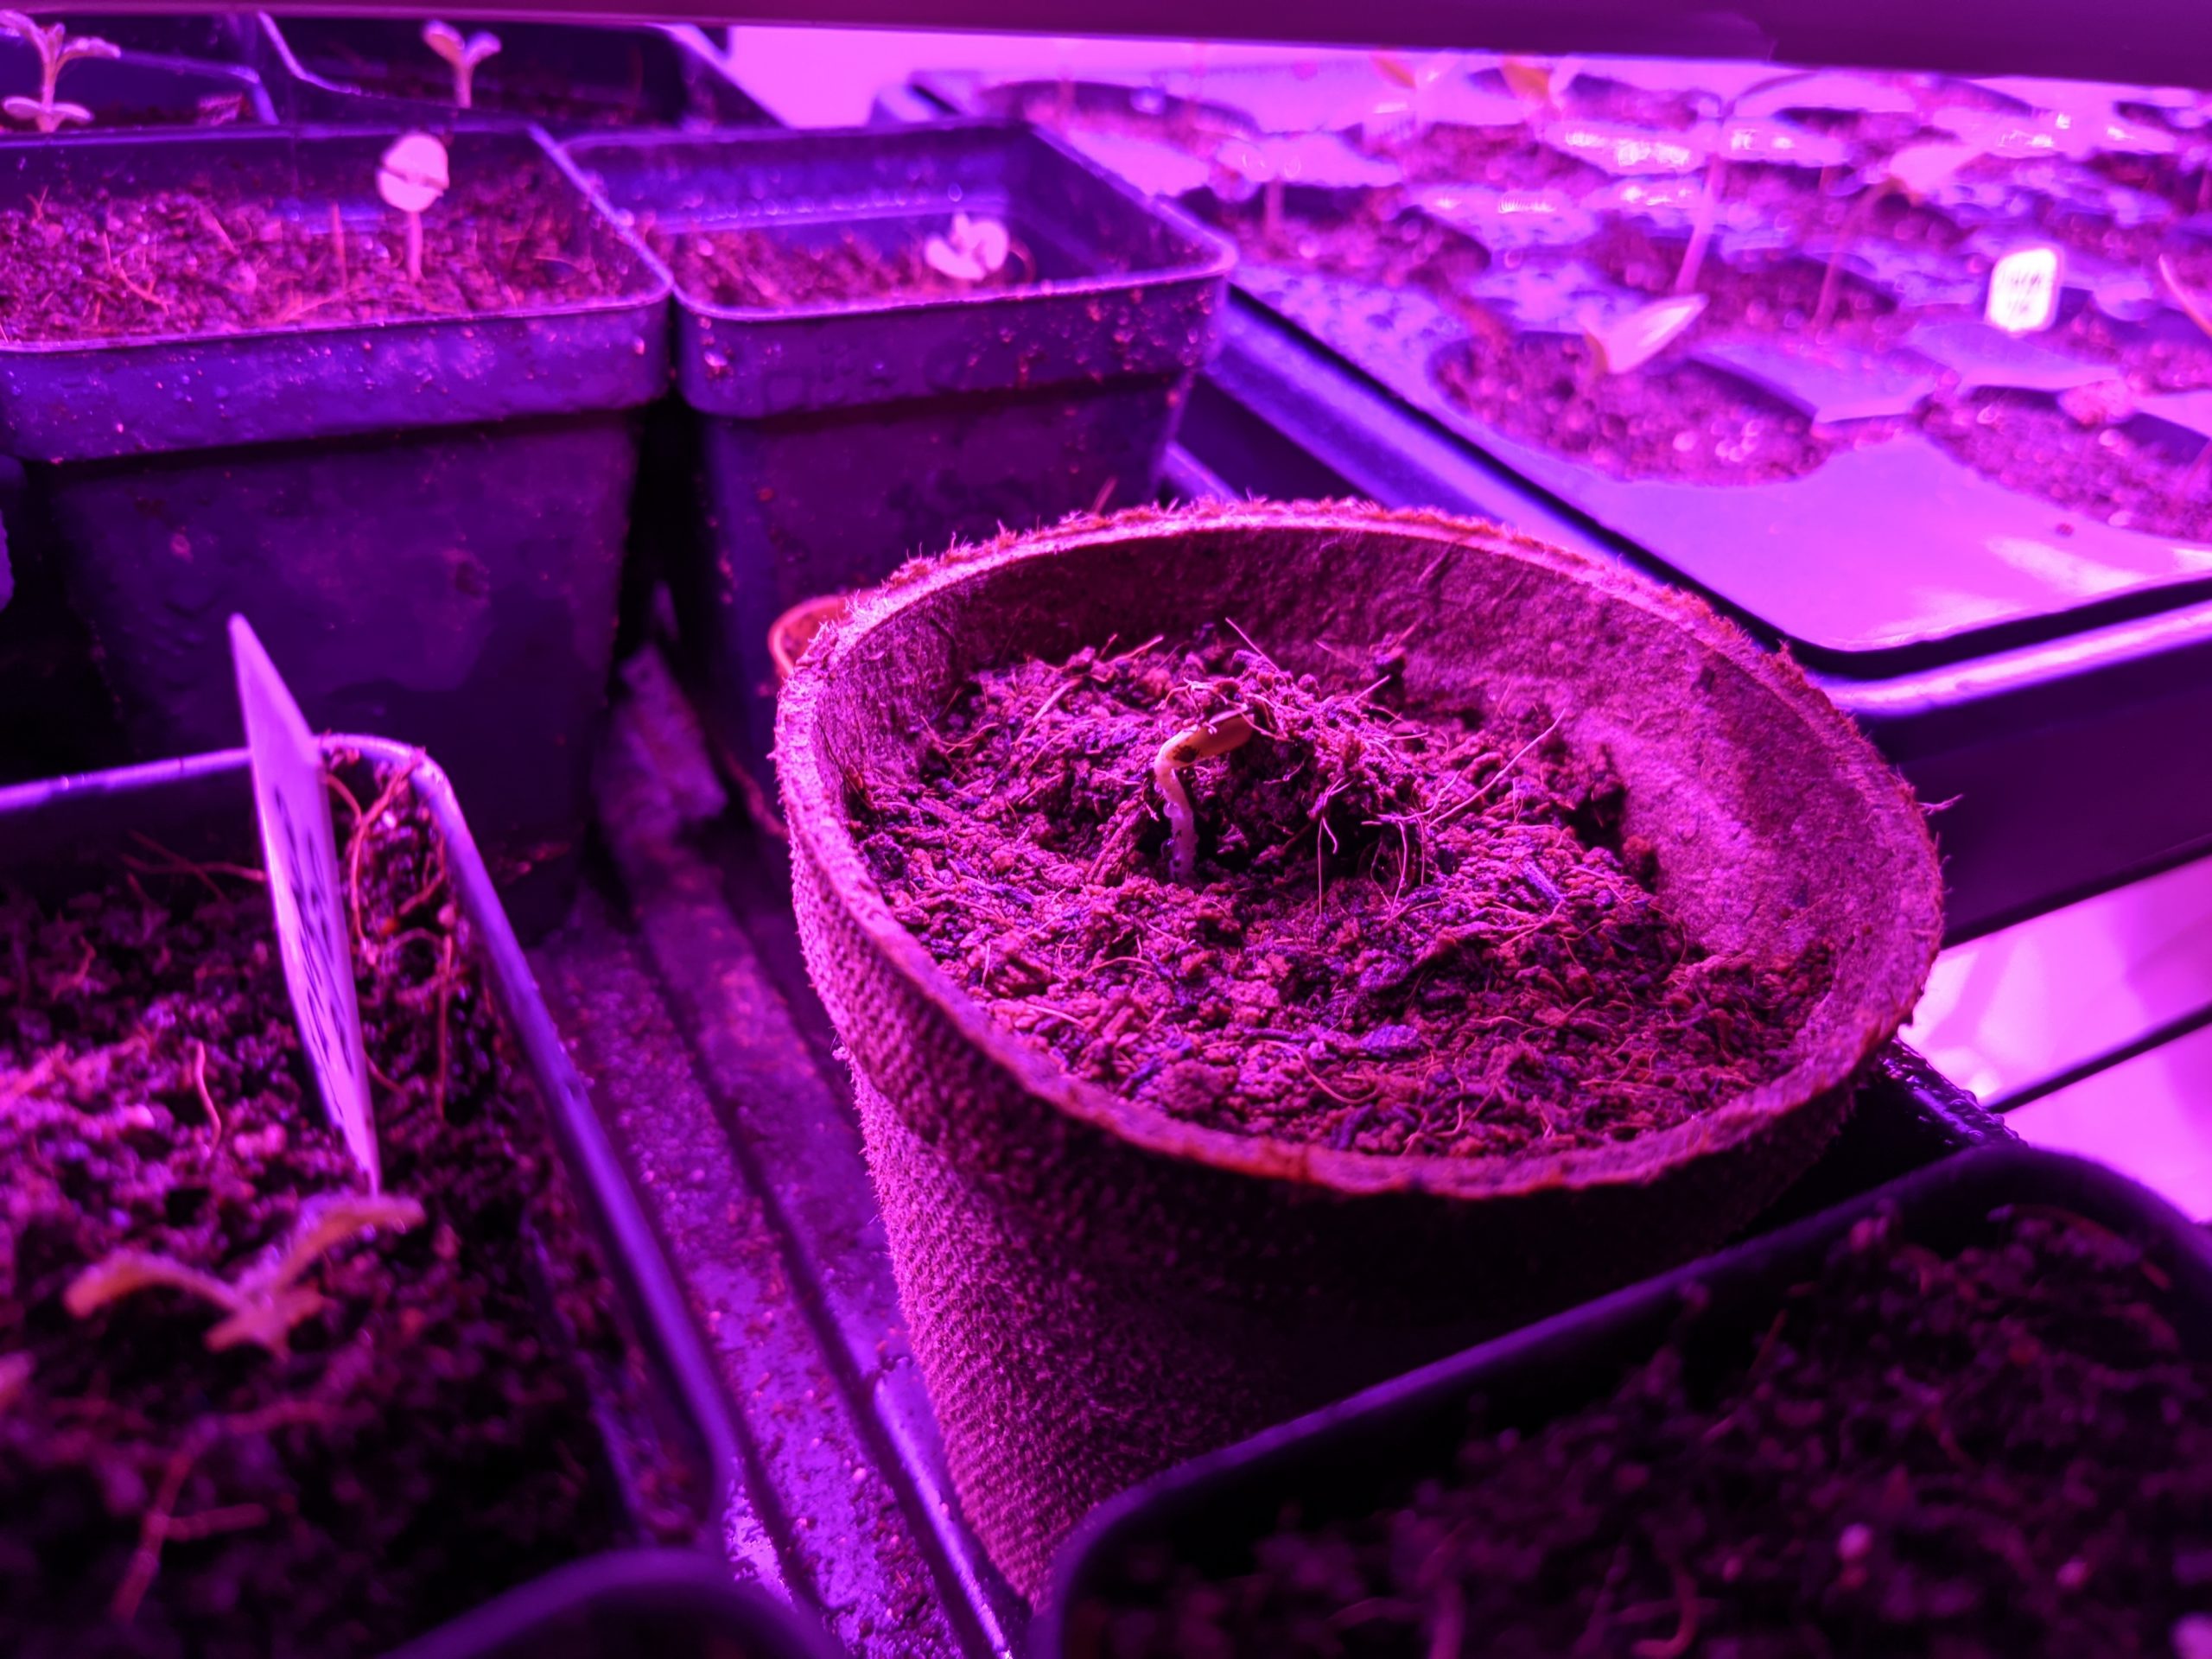
Check on your seedlings daily for any signs of trouble like mold, too much or too little water, and also to enjoy their growth! The nutrients in the seed will create two early “leaves” that are actually called the cotyledons. These sometimes will fall off after a few days and that’s ok. They were just reserves for the seed once it started growing. Now your seedlings will start to take on their first sets of “true leaves.” At this stage you can add some food to your watering routine. Liquid seaweed or fish emulsion works well. Just be sure to read the instructions for use, and add it to your regular watering routine which should now be a weekly drenching.
Step 14
From here on out, you’ll just need to re-pot your seedlings when they outgrow their cells. As soon as it’s warm enough to do so, you can start transitioning outside. Because they haven’t faced the real world yet, your seedling needs to be “hardened off.” This means you should leave them outside for an hour or so the first day, and then, over the course of a week, build up to leaving them out overnight as long as the weather stays warm enough. Remember, they haven’t felt wind yet! If they went right outside they might be blown over on their first day or shocked by the fact that it isn’t always 70° and sunny for 14 hours a day!
Step 15
Once all danger of frost has passed they can be planted into the garden. And you can enjoy them all spring and summer long!
